
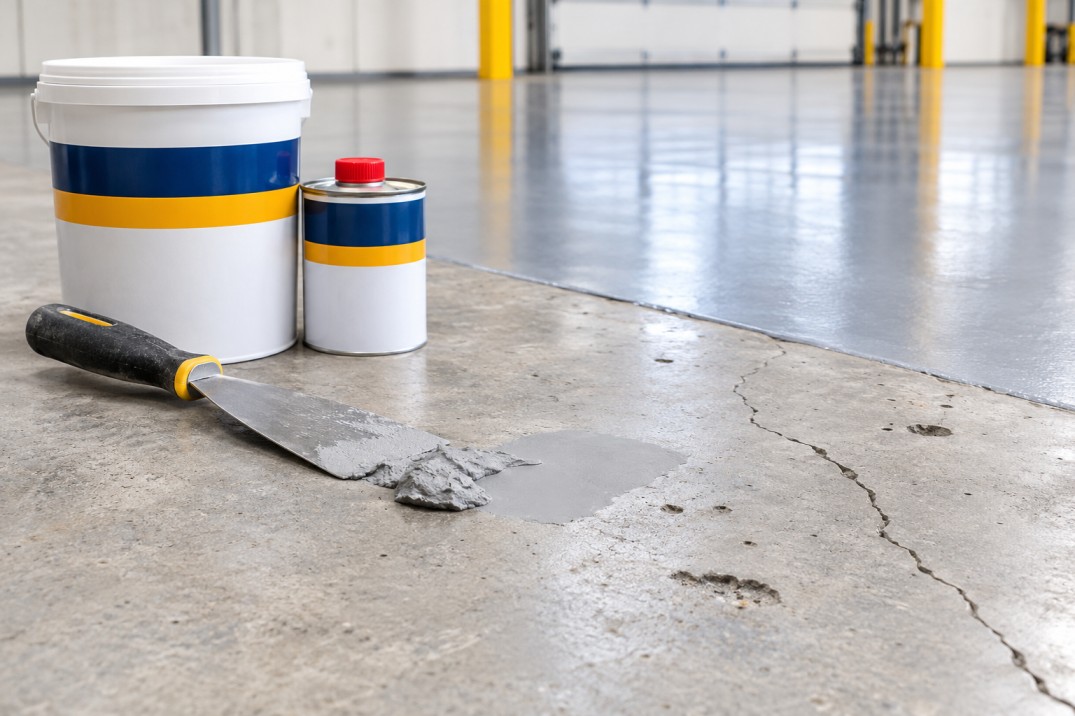
When the filler is done but the floor still isn’t right
You ground the slab, filled the cracks and blowholes with Jotafloor Filler, waited for it to cure and rolled on the epoxy topcoat. A day later the floor doesn’t look the way it should. Small pinholes have appeared. Faint crack lines show through the coating. One repaired patch sounds hollow when you tap it with a screwdriver handle.
This is a common situation, and in most cases the filler itself isn’t faulty. Something in the conditions or the method stopped it from doing its job. The good news is that most of those things can be checked and corrected on site.
What Jotafloor Filler is designed to do
Jotafloor Filler is a solvent-free, two-component epoxy filler made by Jotun for concrete floors. It is meant to fill cracks, spalls, blowholes and other surface irregularities before a floor coating goes on. According to Jotun, it is non-shrinking, has a compressive strength higher than concrete, and cures to a smooth surface ready for overcoating. It can be applied from 200 microns up to 3 mm thick.
So when it works as intended, the topcoat should go on over a flat, sound and closed surface. If that is not what you are seeing, the cause is usually one of the five below.
Why the problem happens
1. The concrete surface wasn’t properly prepared
Jotun specifies the filler for properly prepared concrete. Laitance (the weak, powdery top layer of a slab), dust, curing compounds, oil or old coating left on the surface stop the epoxy from bonding to sound concrete. The filler then bonds to the weak layer, and that layer is what fails. This is the usual cause of hollow-sounding or lifting patches.
2. Moisture or air is coming up through the slab
Concrete holds water and air. A slab that is still damp, or a very porous one, can push moisture or air up into the filler and topcoat while they cure. That shows up as pinholes, small blisters or a cloudy patch. It is especially common on newer slabs and on floors that warm up quickly during the day.
3. The mix ratio was off, or the mix was incomplete
Jotafloor Filler is mixed 1.5 parts Component A to 1 part Component B by volume. Splitting a pack by eye, or not scraping the sides and bottom of the container while mixing, leaves some material under-cured. Under-cured filler can stay soft, stay tacky or react badly with the topcoat.
4. It was applied too thin or too thick
The filler’s working range is roughly 200 microns to 3 mm. Skimmed on too thin, it may not close a blowhole fully, so the hole reappears under the topcoat. Deeper voids filled in a single heavy pass can be harder to finish flat and may need building up in layers, as the technical data sheet describes.
5. The crack is moving
Epoxy filler is rigid once cured. That suits static cracks, such as shrinkage cracks that have stopped growing. A crack that still opens and closes with temperature or load, or a construction or expansion joint, will move again and crack straight through any rigid filler and coating above it. This is the cause behind crack lines that “come back” weeks later.
Common fixes people try, and why they fall short
| What people try | Why it often doesn’t solve it |
| Adding a second coat of filler over the first | If the first layer is poorly bonded or under-cured, the new layer sits on the same weak base and fails with it. |
| Patching with a cement-based repair mortar | Cementitious patches can be fine for deep repairs, but they need their own curing time and preparation before epoxy goes on top. Coating too early brings back the moisture problem. |
| Applying a thicker topcoat to hide defects | A thicker coat can bridge small marks for a while, but it doesn’t fix pinholes from outgassing or cracks from movement. The defect usually shows through again. |
| Sanding the topcoat smooth | This removes the visible bump but not the cause underneath, and it thins the coating at that spot. |
Fixes you can do yourself
You don’t need to buy anything special for these. They work with the filler you already have and the tools most sites already carry.
1. Test the slab for moisture before you fill
Tape a square of clear plastic sheet (about 450 mm × 450 mm) tightly to the floor on all four edges and leave it for at least 16 hours. This is the simple plastic-sheet method from ASTM D4263. If you see condensation under the plastic or the concrete has darkened, the slab is too damp to coat yet. Let it dry further, improve ventilation, or ask your coating supplier about a moisture-tolerant primer before filling.
2. Prepare down to sound concrete
Grind or shot-blast the area to remove laitance, old coatings and contamination, then vacuum thoroughly. Don’t rely on sweeping. Tap the floor with a hammer or screwdriver handle as you go. Mark anything that sounds hollow, cut it out back to sound concrete and fill it as a repair, not a skim.
3. Mix by the ratio, and mix the whole pack
Use full packs wherever you can, because they are already proportioned at the correct 1.5 : 1 ratio by volume. If you must split a pack, measure both parts in marked containers. Mix with a low-speed drill paddle, scrape the sides and bottom, and only mix what you can use within the pot life shown on the technical data sheet.
4. Open, clean and judge each crack before filling
Widen fine cracks slightly with a grinder or crack chaser so the filler can get in, then blow or vacuum out the dust. Before filling, decide whether the crack is static or moving. A simple check: draw pencil marks across the crack and see whether they shift over a few days. If they move, or if it is a joint, use a flexible joint sealant there instead of rigid filler.
5. Try a small test patch first
Before you treat a whole floor, fill and topcoat a small area, about 1 m², in the worst spot. Check it after full cure for pinholes, adhesion and finish. It costs a few hours and can save you from recoating a whole floor.
When it makes sense to bring in an applicator
The steps above solve most small and medium jobs. Some situations are harder to manage with site labour alone: a slab with a persistent moisture problem, many cracks where it is unclear which are moving, joints that need proper sealing, or a large industrial floor that has to return to service on a fixed date.
For these, Petroline Technical Services may be a better route. Its listed services include crack injection and concrete repair, construction joint filling, and epoxy floor coating. That means the crack assessment, joint treatment, filling and topcoat can be handled as one system rather than as separate trades.
Petroline is based in Al Ain and lists Abu Dhabi, Al Ain, Dubai and the wider UAE as its service area. Jotun technical data sheets are linked from the Datasheet section of its website, so you can check the product specifications before any work is agreed.
Who this is not right for
A professional applicator is not the right choice for every floor. You probably don’t need one if:
- you have a few small, static cracks in a home, garage or small shop floor that you can prepare and fill yourself using the steps above;
- you only want to buy the filler material, not have the work done;
- the floor will be covered with tiles, vinyl or carpet, where a cementitious leveller may be the more suitable product;
- the slab has structural damage, such as settlement or wide cracks that keep widening. That needs a structural engineer’s assessment first, before any filler or coating.
In short
When Jotafloor Filler doesn’t give the finish you expect, the cause is usually preparation, moisture, mixing, thickness or crack movement rather than the product. Check those in order, test before you commit to the whole floor, and most problems can be fixed on site. If the floor is large, damp or full of uncertain cracks, a specialist applicator can take it on as one job.
FAQs
1. What is Jotafloor Filler used for?
It is a solvent-free, two-component epoxy filler from Jotun for filling cracks, spalls, blowholes and other surface defects in concrete floors before an epoxy or other floor coating is applied.
2. What is the mixing ratio for Jotafloor Filler?
1.5 parts Component A to 1 part Component B by volume. Using full packs avoids measuring errors. Mix thoroughly, including the sides and bottom of the container.
3. How thick can Jotafloor Filler be applied?
From about 200 microns up to 3 mm. Deeper holes and spalls should be repaired back to sound concrete and built up as the technical data sheet describes.
4. Why do pinholes appear in an epoxy floor after filling?
Usually because moisture or air is rising from the concrete while the filler or topcoat cures, or because blowholes were not fully closed. Test the slab for moisture and make sure holes are fully filled before coating.
5. Can Jotafloor Filler fix moving cracks or expansion joints?
No. It cures rigid, so it is meant for static cracks. Moving cracks and joints need a flexible joint sealant, otherwise the crack will return through the filler and coating.